Adding Items to Database
Adding a New Item
If you frequently use the same item configurations, you can save them in the database instead of recreating them each time. This allows you to quickly select and reuse predefined items, improving efficiency and consistency in your loading plans.
Storing frequently used items in the database allows you to avoid recreating them each time. Once saved, these predefined items can be quickly selected and reused in future loading plans, improving efficiency and ensuring consistency.
Open the Items Panel
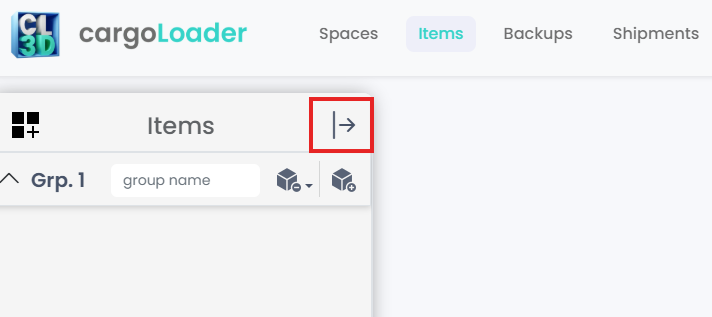
- Click the button in the top right corner to expand the Items panel.
- This panel allows you to add new boxes or manage existing ones.
Add a New Box
- Press the “Add New Box Item” button on the top right to open the item creation screen.
- Here, you can add as many new boxes as needed to your list.

Enter Box Details
In the form, fill in the box specifications:
- Box Name.
- Length, Width, Height: Dimensions will follow the user’s selected unit settings
- Weight: Weight will follow the user’s selected unit settings.
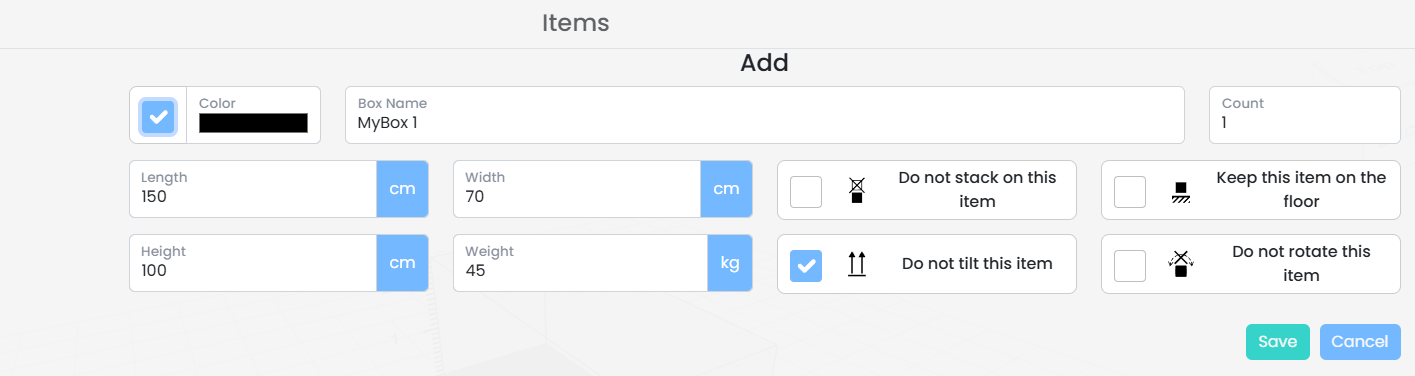
You can also set special restrictions for this item:
- Do not stack on this item.
- Keep this item on the floor
- Do not tilt this item
- Do not rotate this item
Once all fields are completed, click the Save button to confirm and add the box to your list.
Select a Color
- Click on the Color field to open the color picker.
- Choose a color to visually distinguish this box.
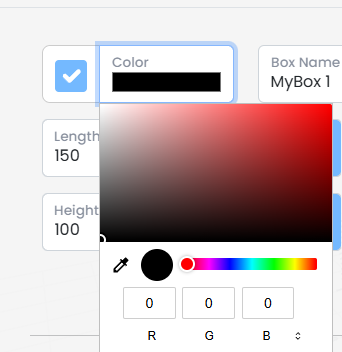
If you do not select a color, the system will automatically assign one.
Overwriting Items
Items stored in the database can now be updated directly from the Items panel. In earlier versions, modifying an existing item required creating a copy. In the current interface, users can edit an item's properties and overwrite the existing entry. This allows teams to maintain item definitions more efficiently while keeping the database clean and up to date.
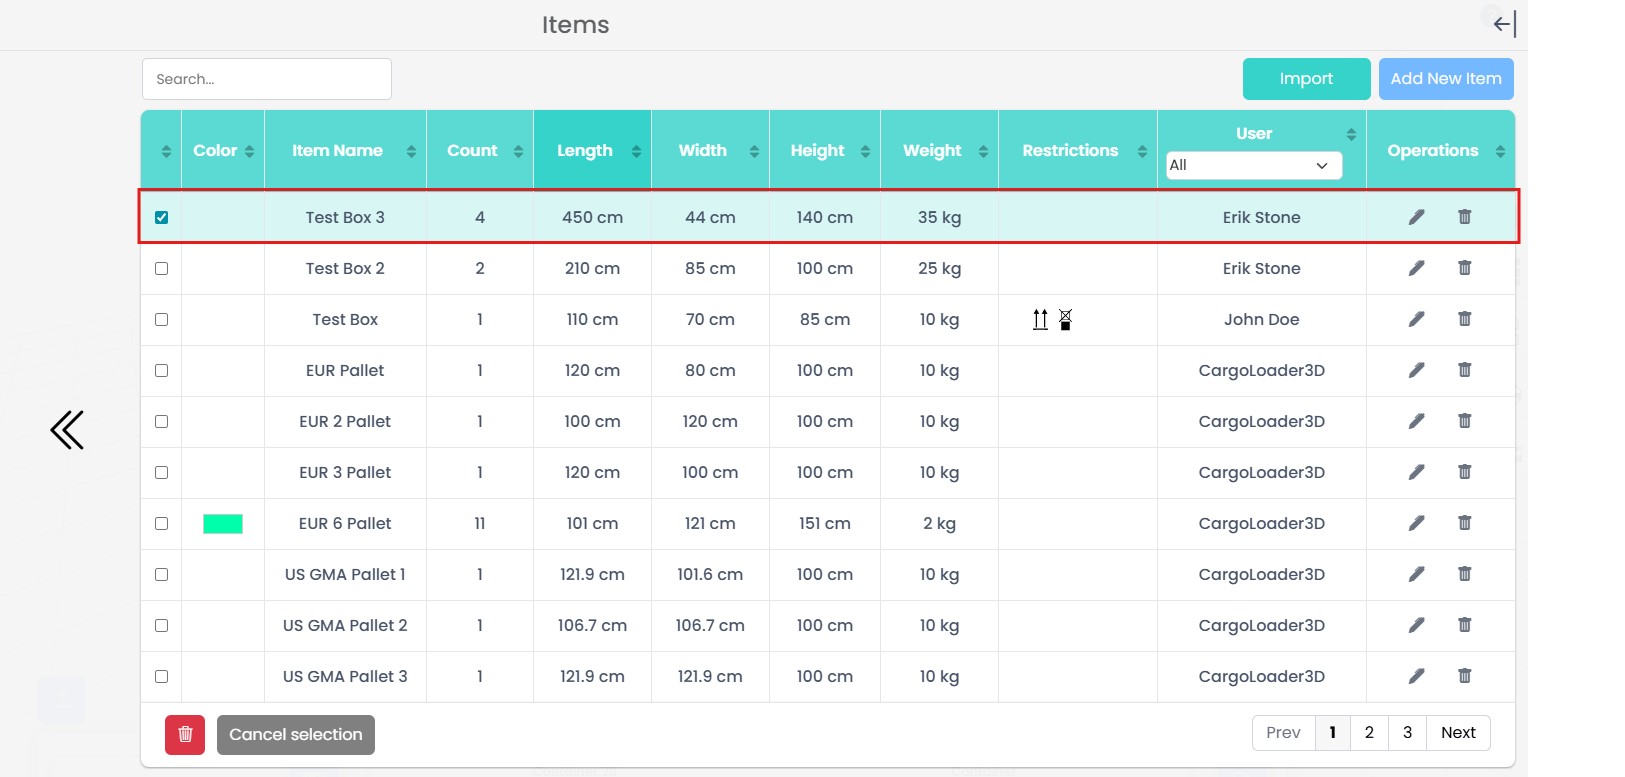
1. Select the Item
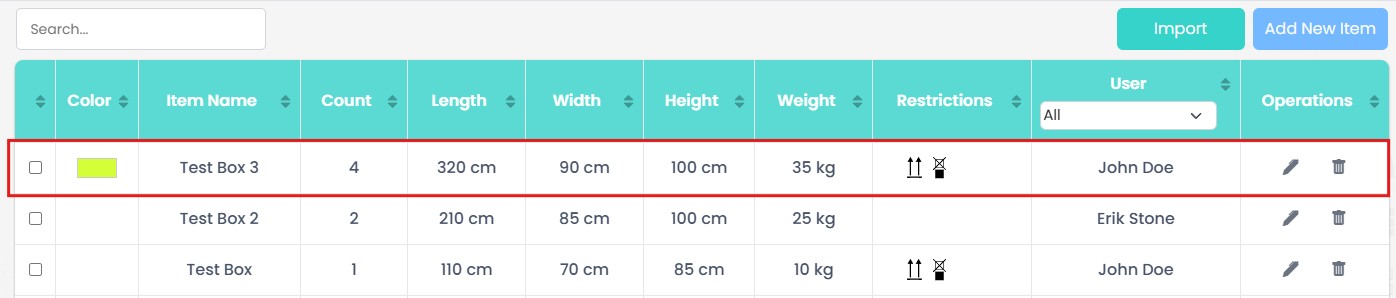
Navigate to the Items section to view all items stored in the database. Each row displays the item properties such as color, dimensions, weight, restrictions, and the User who created the item. Identify the item you want to update from the list before making any changes.
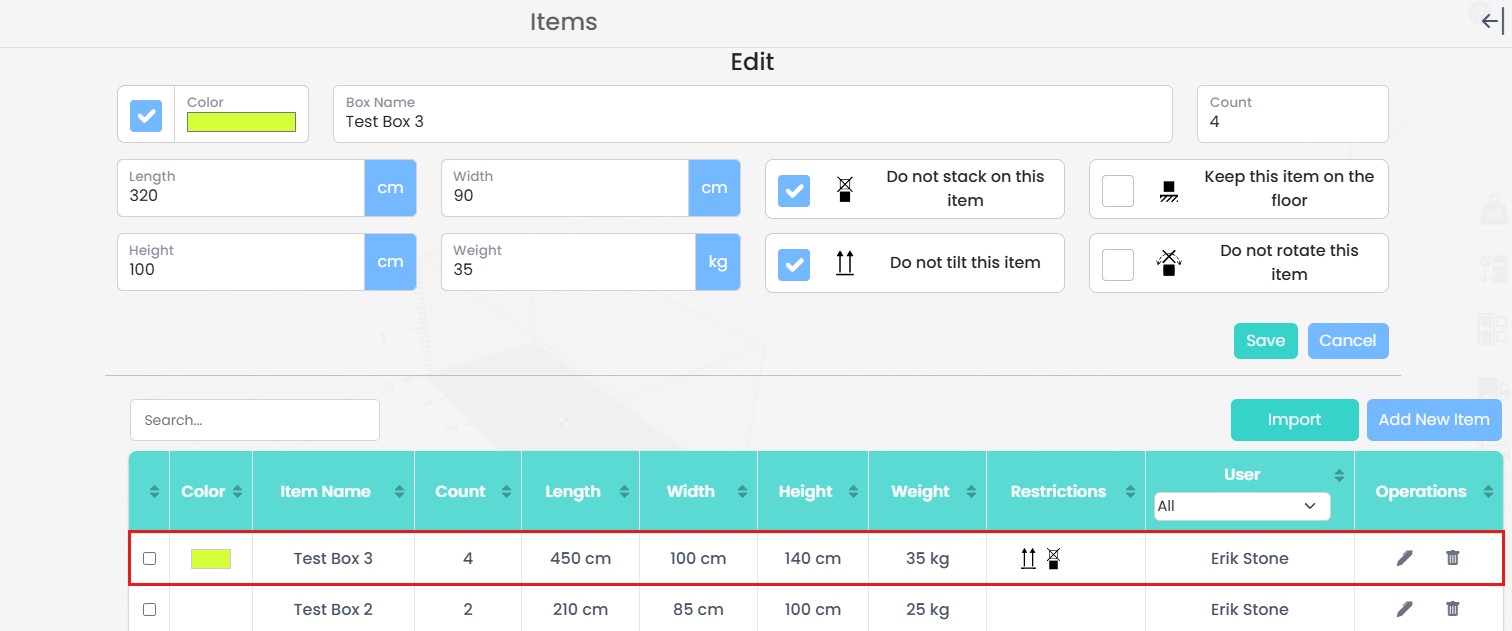
2. Modify Item Properties
Use the Add Item panel to update the item properties. All attributes can be modified, including the Box Name, Color, Count, Length, Width, Height, Weight, and any item restrictions (such as stacking, tilting, rotation, or floor placement). After adjusting the required values, click Save to apply the changes.
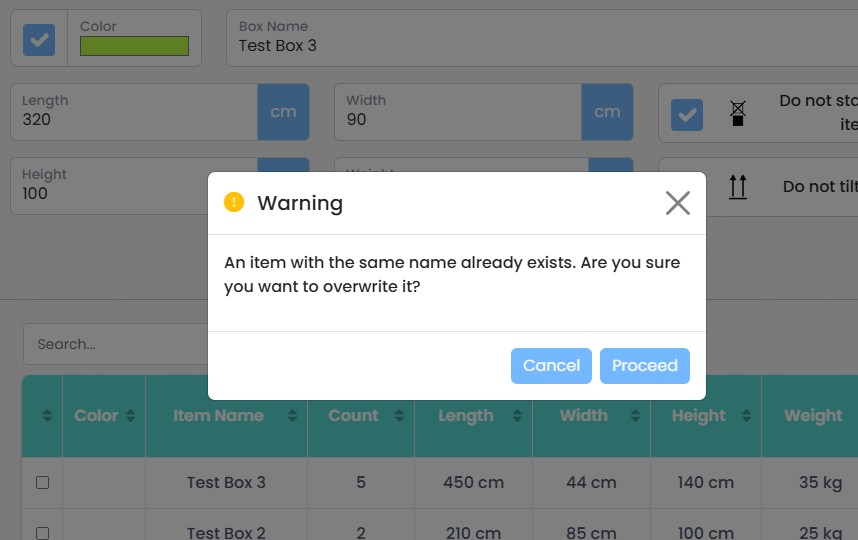
3. Confirm Overwrite
If the updated Box Name already exists in the database, the system displays a warning message asking whether the existing item should be overwritten. This confirmation step helps prevent accidental updates to existing item definitions.
4. Item Updated
Before
After