Team Management
The Team Management section allows administrators to manage workspace members, invite new users, and control team access. This feature enables multiple users to collaborate within the same CargoLoader workspace.Through this interface, administrators can invite members, monitor invitation status, and manage existing users. Within the workspace, Editors have extended permissions, allowing them to create, edit, and delete all Items, Spaces, and Shipments. Standard users, on the other hand, can add new Items and edit only the Items they have created, but they do not have permission to create Spaces.
To access the team management interface, click the Team tab in the top navigation bar.The Team page provides an overview of the current team, including members, invitations, and management options.

Team Overview
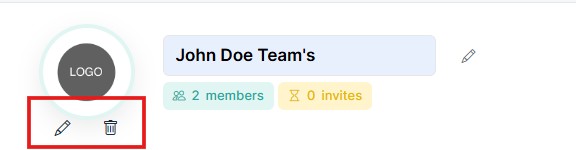
At the top of the page, the Team Profile panel displays general information about the current team.This panel includes:
- Team logo
- Team name
- Number of nembers
- Number of pending invitations
Administrators can update the team name or logo using the edit icons.
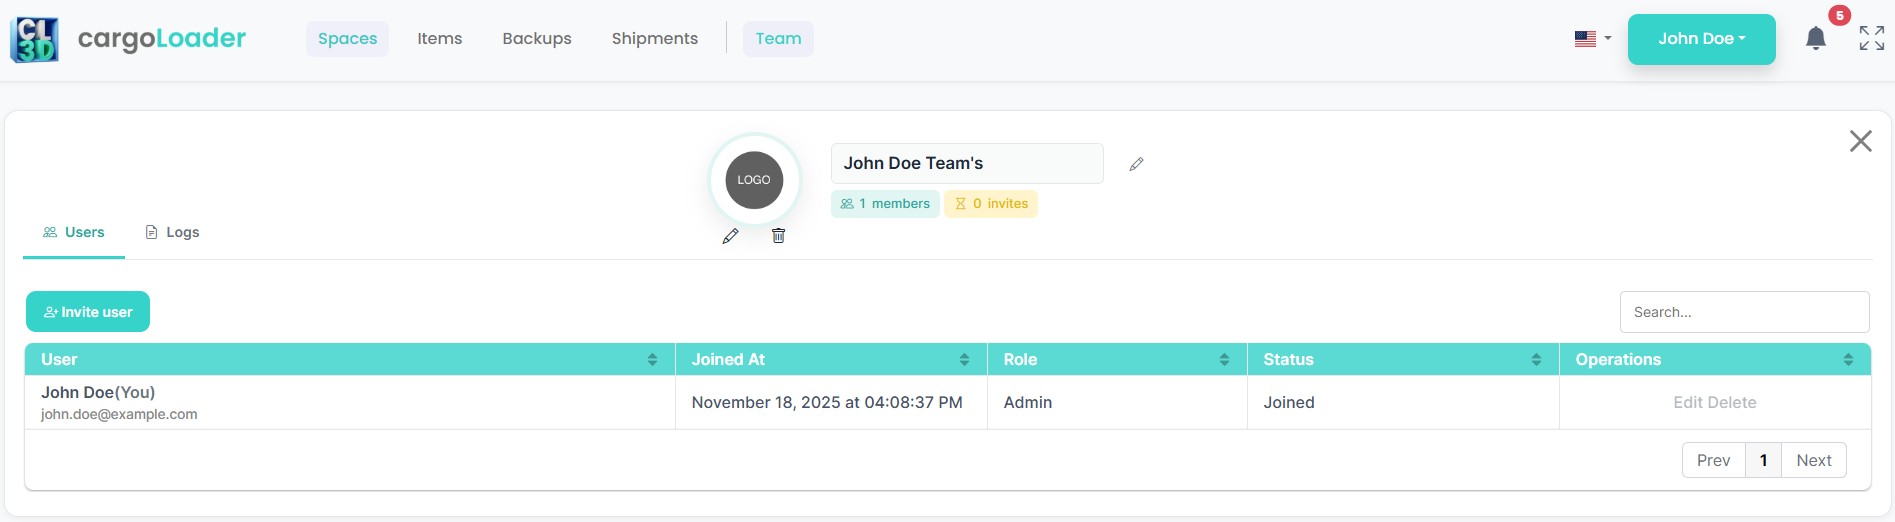
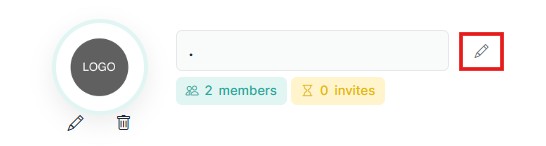
To change the team name, click the edit icon next to the team name.
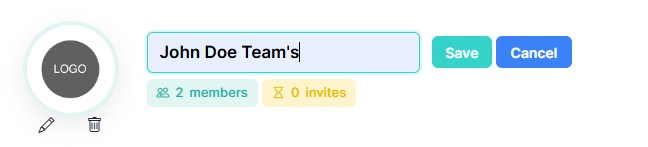
After clicking the icon, the name field becomes editable.Enter the new team name and click Save to confirm or Cancel to discard the changes.
The team logo can also be managed from this section.
Inviting a New User
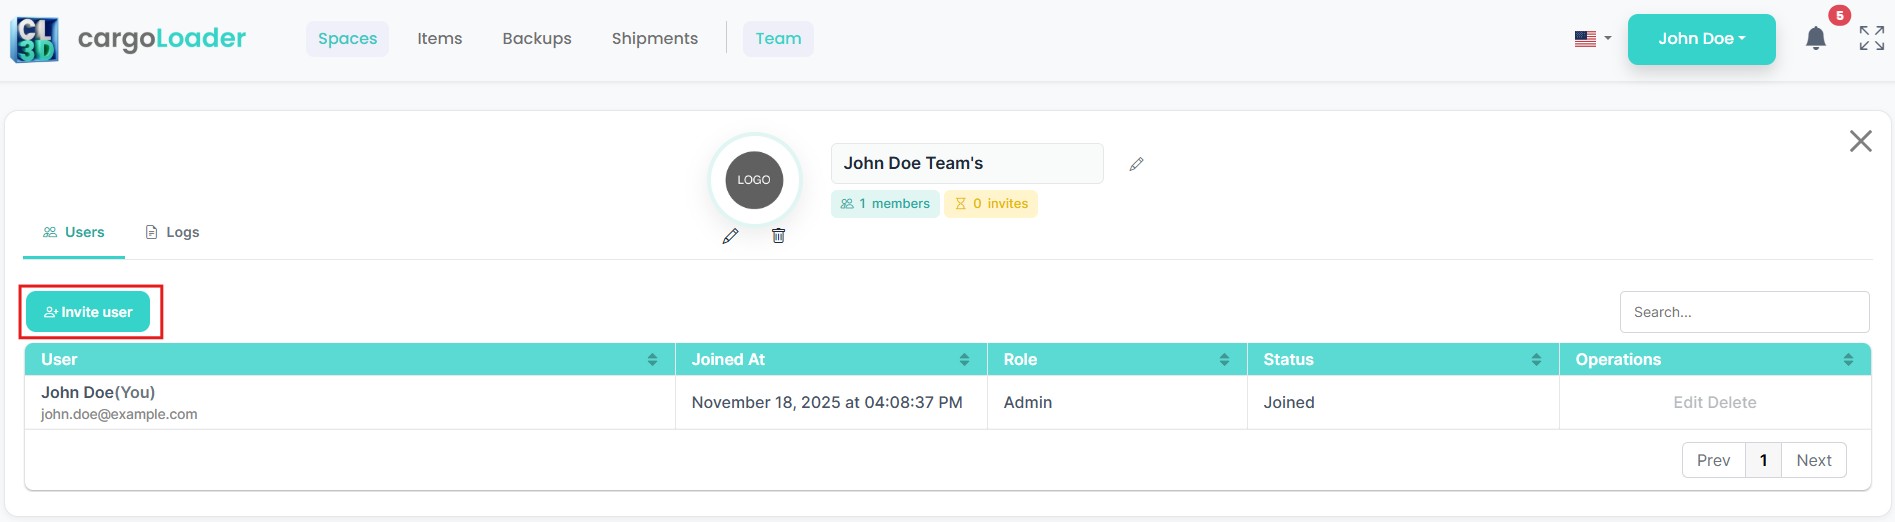
To invite a new user to the team, click the Invite User button located above the members table.
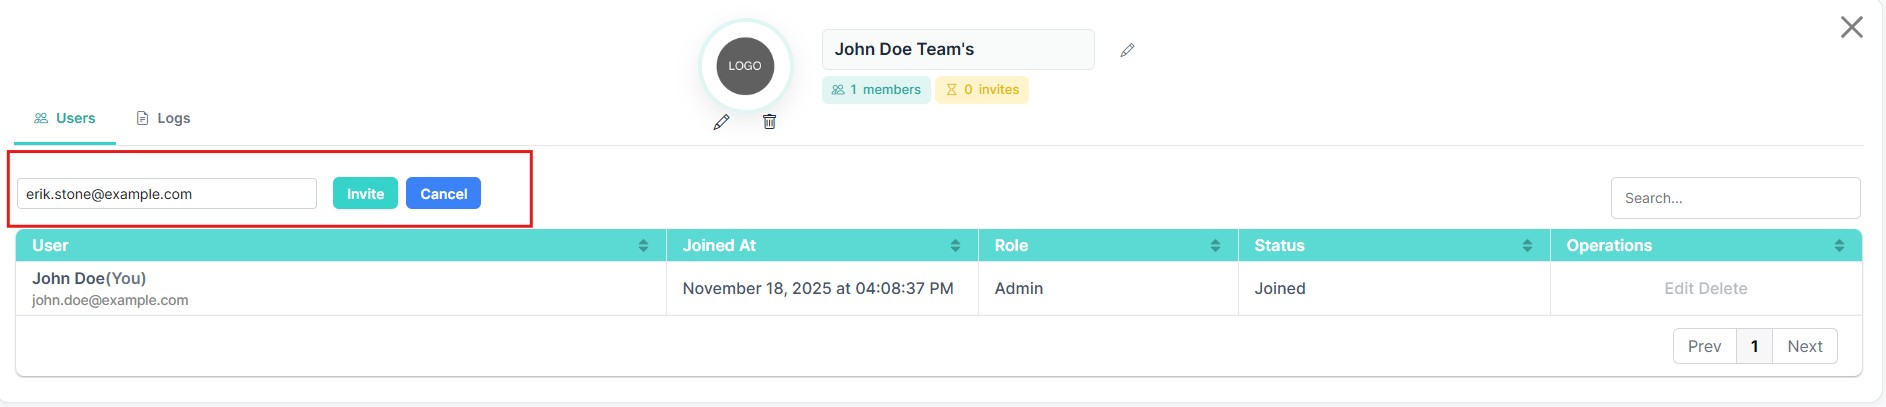
After clicking the button, an input field will appear where you can enter the user's email address.Enter the email address and click Invite to send the invitation
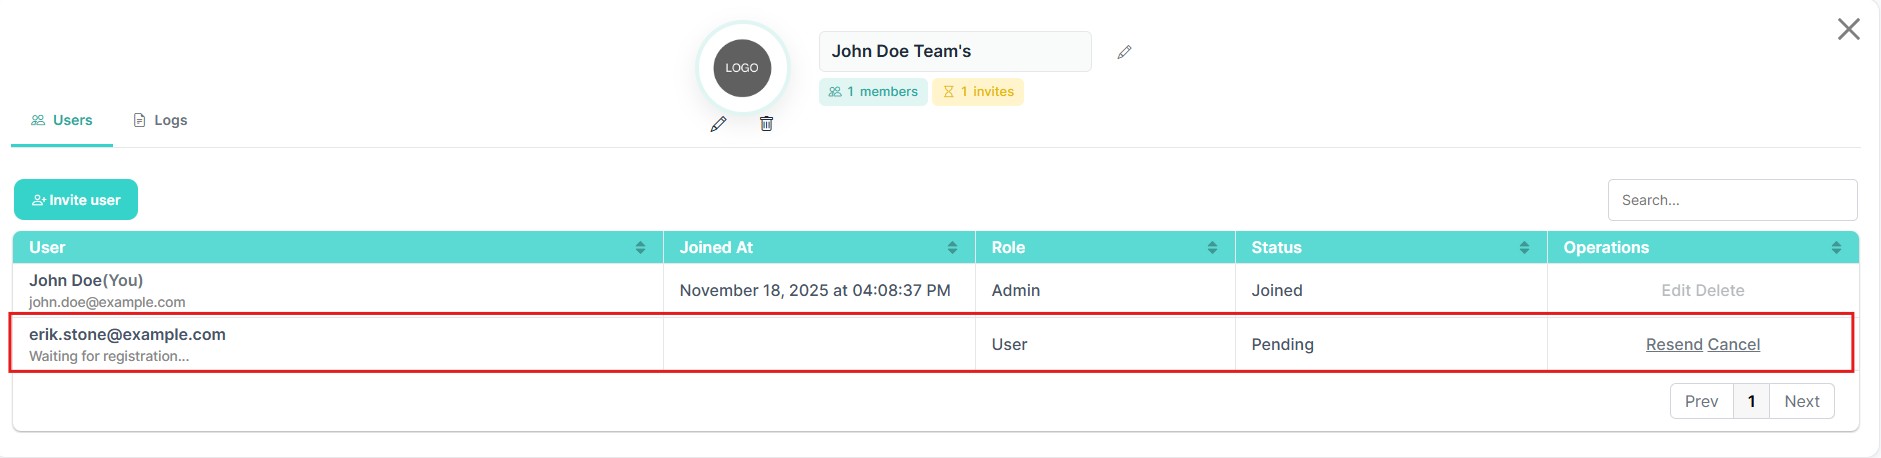
After sending an invitation, the invited user will appear in the list with a Pending status.This indicates that the invitation has been sent but has not yet been accepted.
When a user receives an invitation, an email is sent containing the invitation details.The email includes a button labeled Accept Invite.By clicking this button, the invited user can complete the registration process and join the team.
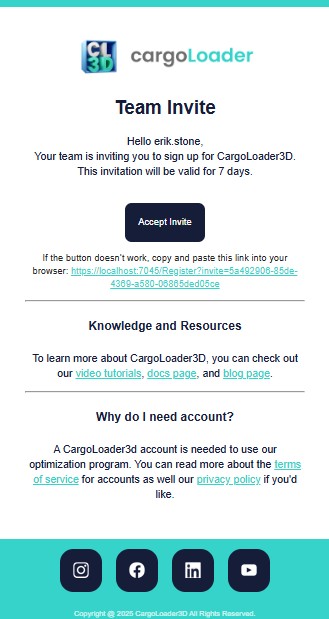
Once the invited user completes registration, their status changes from Pending to Joined.At this point, the user becomes an active member of the team.
Administrators can manage members using the following actions:
- Edit – modify the user role
- Delete – remove the user from the team
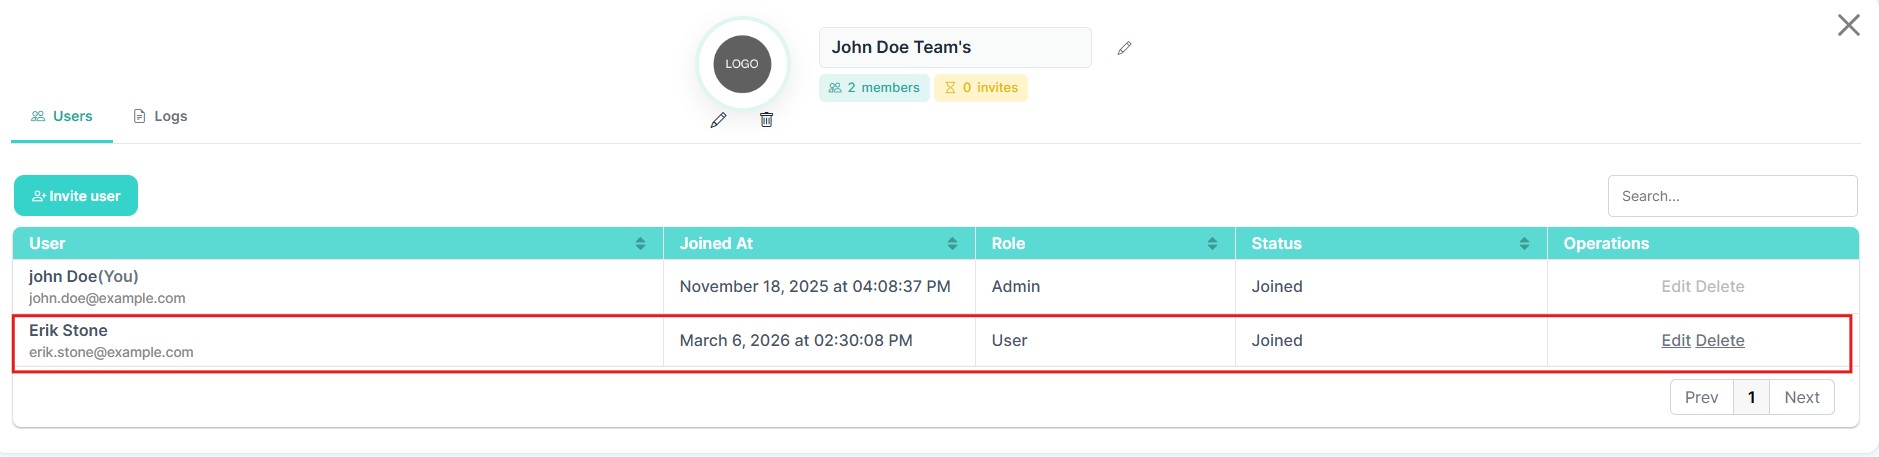
Edit User Role
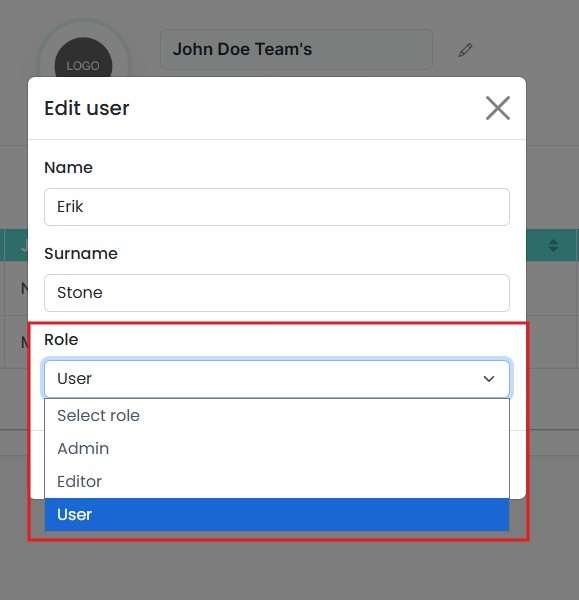
The Edit User feature allows administrators to update user information and modify user roles within a team.Through this interface, administrators can manage permissions and ensure that team members have the appropriate access level.
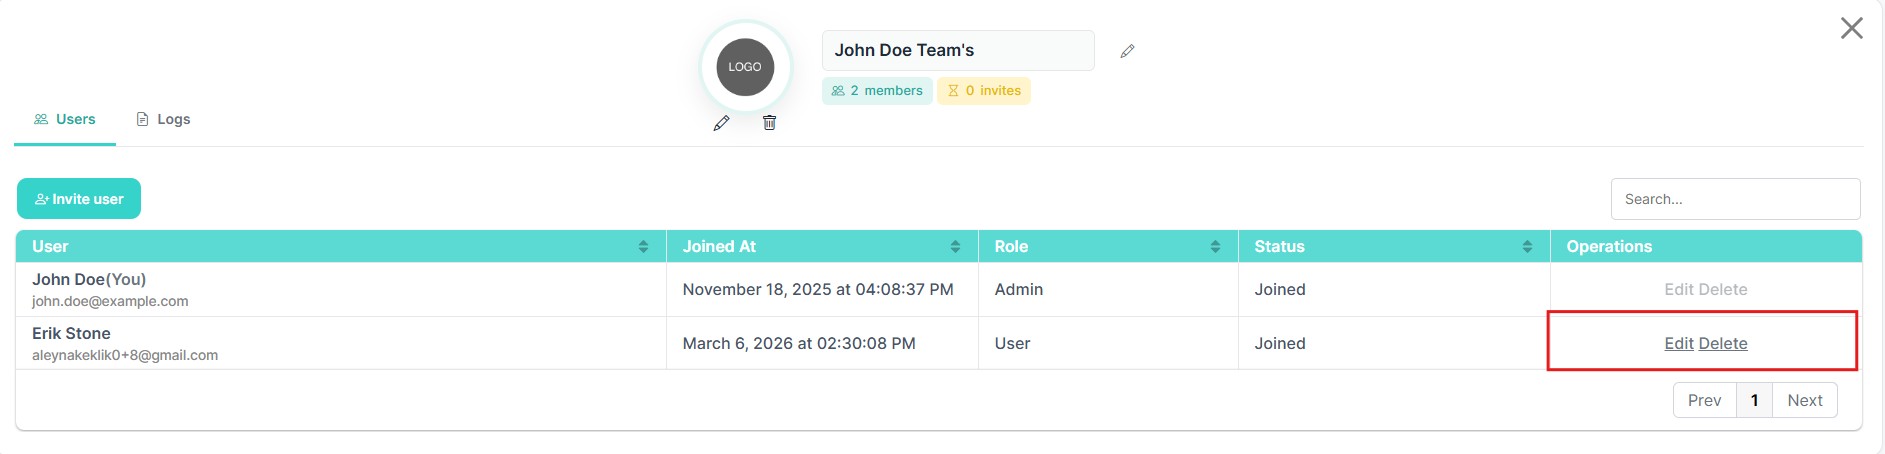
To edit a user's information or role:
- Navigate to the Users section in the Team management panel.
- Locate the user in the user list.
- Click the Edit option in the Operations column.
This action opens the Edit User modal, where the selected user’s information can be updated.
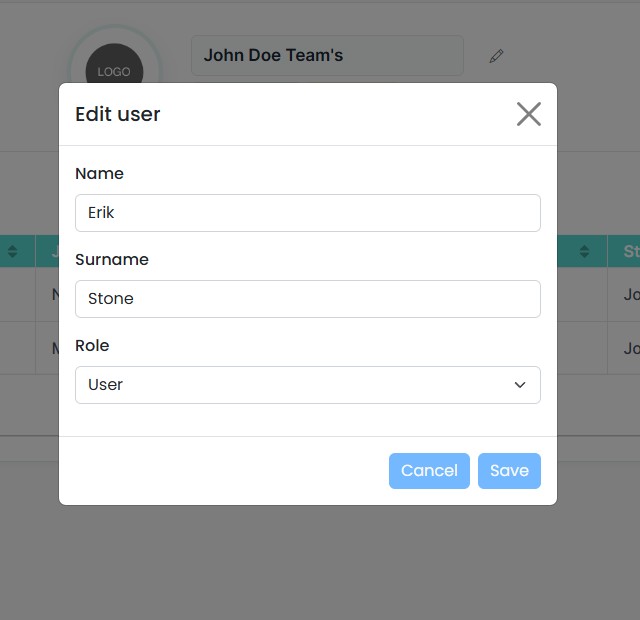
User roles define the permission levels of team members within the workspace. The system supports three roles: Admin, Editor, and User. Admin users have full control over the workspace, including managing users and all resources such as items, spaces, and shipments. Editors can create, edit, and delete all items, spaces, and shipments. Users have limited access; they can add items and edit their own items but cannot create spaces or manage other workspace resources.